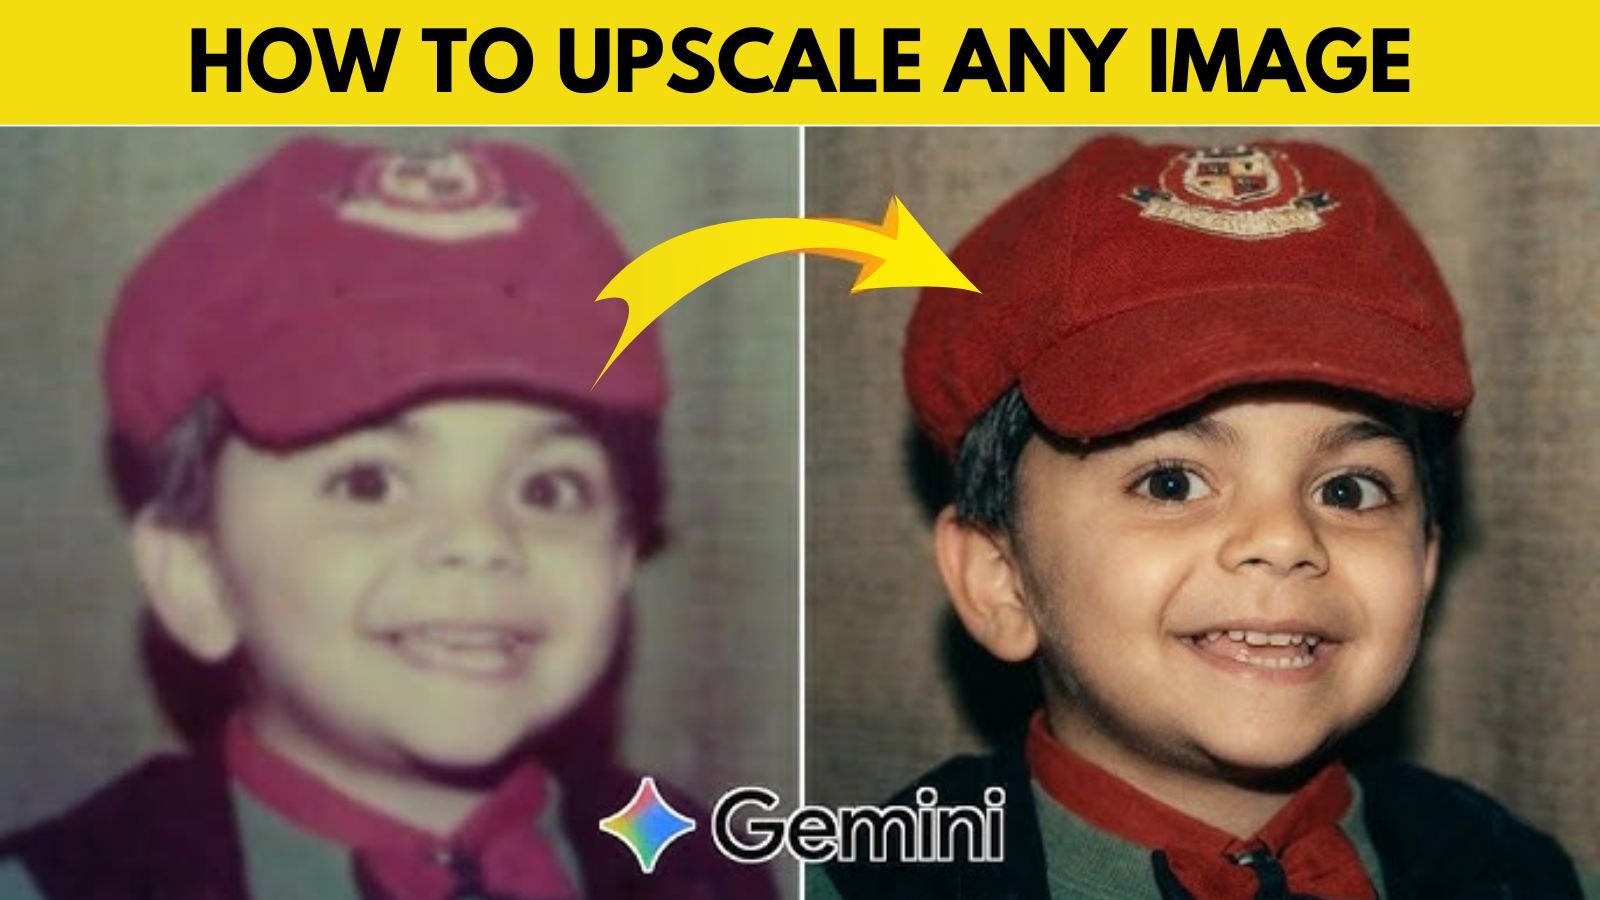
Upscaling your images to 4K isn’t just for tech enthusiasts, it’s incredibly practical. For professionals, it ensures high-quality visuals for portfolios, marketing materials, and client projects. For personal users, it can transform old or low-resolution photos into something worth printing or sharing. Imagine turning a pixelated childhood photo into a crystal-clear memory, that’s the real magic here.
Advertisements
Upscaling is more than just enlarging an image. Instead of stretching pixels (which leads to blur), modern tools use AI algorithms to intelligently add new details. These systems analyze patterns, edges, and textures to reconstruct missing information. It’s almost like predicting what the image should look like in higher resolution. That’s why AI-based upscaling feels so natural compared to older methods.
Common Use Cases of 4K Images
From social media posts and YouTube thumbnails to eCommerce product images, 4K visuals are now the standard. High-resolution images grab attention faster and build credibility. Even blog content benefits from sharper visuals, improving user engagement and SEO performance.
Best Tools for 4K Image Upscaling
1. AI-Powered Upscaling Tools
AI tools like Topaz Gigapixel AI, Let’s Enhance, and Adobe Firefly are leading the space. They automatically enhance details, reduce noise, and sharpen edges. These tools are perfect if you want fast, high-quality results without diving deep into technical settings.
2. Traditional Software Options
Programs like Adobe Photoshop still offer powerful upscaling features. With options like “Preserve Details 2.0,” users can manually control how images are enhanced. This is ideal for designers who want precision but requires more effort compared to AI tools.
Advertisements
3. Using Google Gemini for Image Upscaling (New Method)
A newer and increasingly popular approach involves using Google Gemini combined with image tools. While Gemini itself isn’t a dedicated upscaling engine like Topaz, it acts as a smart assistant that helps you enhance and upscale images efficiently. You can upload your image and use prompts like:
Gemini Image Upscale Prompt:
“Enhance the portrait while strictly preserving the subject’s identity with accurate facial 26794 209 geometry. Do not change their expression or face shape. Only allow subtle feature cleanup without altering who they are. Keep the exact same background from the reference image.
No replacements, no changes, no new objects, no layout shifts. The environment must look identical.
The image must be recreated as if it was shot on a Sony A1, using an 85mm f1.4 lens, at f1.6, ISO 100, 1/200 shutter speed, cinematic shallow depth of field, perfect facial focus, and an editorial-neutral color profile. This Sony A1+ 85mm f1.4 setup is mandatory. The final image must clearly look like premium full-frame Sony A1 quality. Lighting must match the exact direction, angle, and mood of the reference photo. Upgrade the lighting into a cinematic,
subject-focused style: soft directional light, warm highlights, cool shadows, deeper contrast, expanded dynamic range, micro-contrast boost, smooth gradations, and zero harsh shadows. Maintain neutral premium color tone, cinematic contrast curve, natural saturation, real skin texture (not plastic), and subtle film grain. No fake glow, no runway lighting, no oversmoothing. Render in 4K resolution, 10-bit color, cinematic
editorial style, premium clarity, portrait crop, and keep the original environmental vibe untouched. Re-render the subject with improved realism, depth, texture, and lighting while keeping identity and
What makes Gemini interesting is its prompt-based workflow. Instead of manually tweaking sliders, you simply describe what you want. For example, you can ask it to preserve facial details, improve lighting, or enhance textures during upscaling. This makes the process feel more intuitive, especially for beginners. It’s like having an expert sitting beside you, giving real-time suggestions while you work on your image.
Step-by-Step Guide to Upscale Your Photo to 4K
1. Preparing Your Image
Start with the best version of your image. Clean up noise, crop unnecessary areas, and ensure proper lighting. The better your input, the better your output, it’s that simple.
2. Using AI Tools for Upscaling
Upload your image into an AI tool and select 4K resolution. Adjust enhancement settings if needed, or let the tool automatically optimize the image. Within seconds, you’ll have a significantly improved version.
3. Fine-Tuning and Exporting
After upscaling, zoom in and inspect details. Make small adjustments like sharpening or color correction, then export in a high-quality format such as PNG.
Tips to Maintain Image Quality
Avoiding Common Mistakes
Avoid using extremely low-resolution images and over-sharpening. Both can ruin the final output and make it look unnatural.
Enhancing Details After Upscaling
Subtle edits like adjusting contrast, brightness, and color balance can significantly improve the final look. Treat upscaling as the foundation, not the final step.
Advertisements
Conclusion
Upscaling images to 4K has become easier and more accessible thanks to AI tools and platforms like Gemini. Whether you prefer automated tools or prompt-based workflows, there’s a method that fits your style.
FAQs
Can all images be upscaled to 4K?
Yes, but results depend on the original quality.
Does upscaling improve image quality?
It improves perceived detail but doesn’t recreate lost data perfectly.
Which tool is best for beginners?
AI tools or Gemini-based workflows are great starting points.
Is AI upscaling better than manual editing?
For most users, it’s faster and more efficient.
How long does it take to upscale an image?
Usually a few seconds to minutes depending on the tool.
")
")
")
")
")

")
")


")

")
")